In this how-to guide, we will guide you through the process of using our calculator, whether you prefer to enter your information manually or, upload a datasheet. You can start using the calculator today and take the first step towards reducing your impact!
You can access the calculator by pressing the 'Calculate Emissions' tab on the navigation bar above, or press this link here.
When entering the calculator page, you may immediately notice three 'sections' on the page. The left side, which contains information about the current project, the middle section, which shows you each individual step that you have so far (just one if you just opened the page), and the right section. The right section allows you to type the individual data that you have about the transport - it is type, the cargo weight, as well as the address. Let us explore the individual sections in detail:
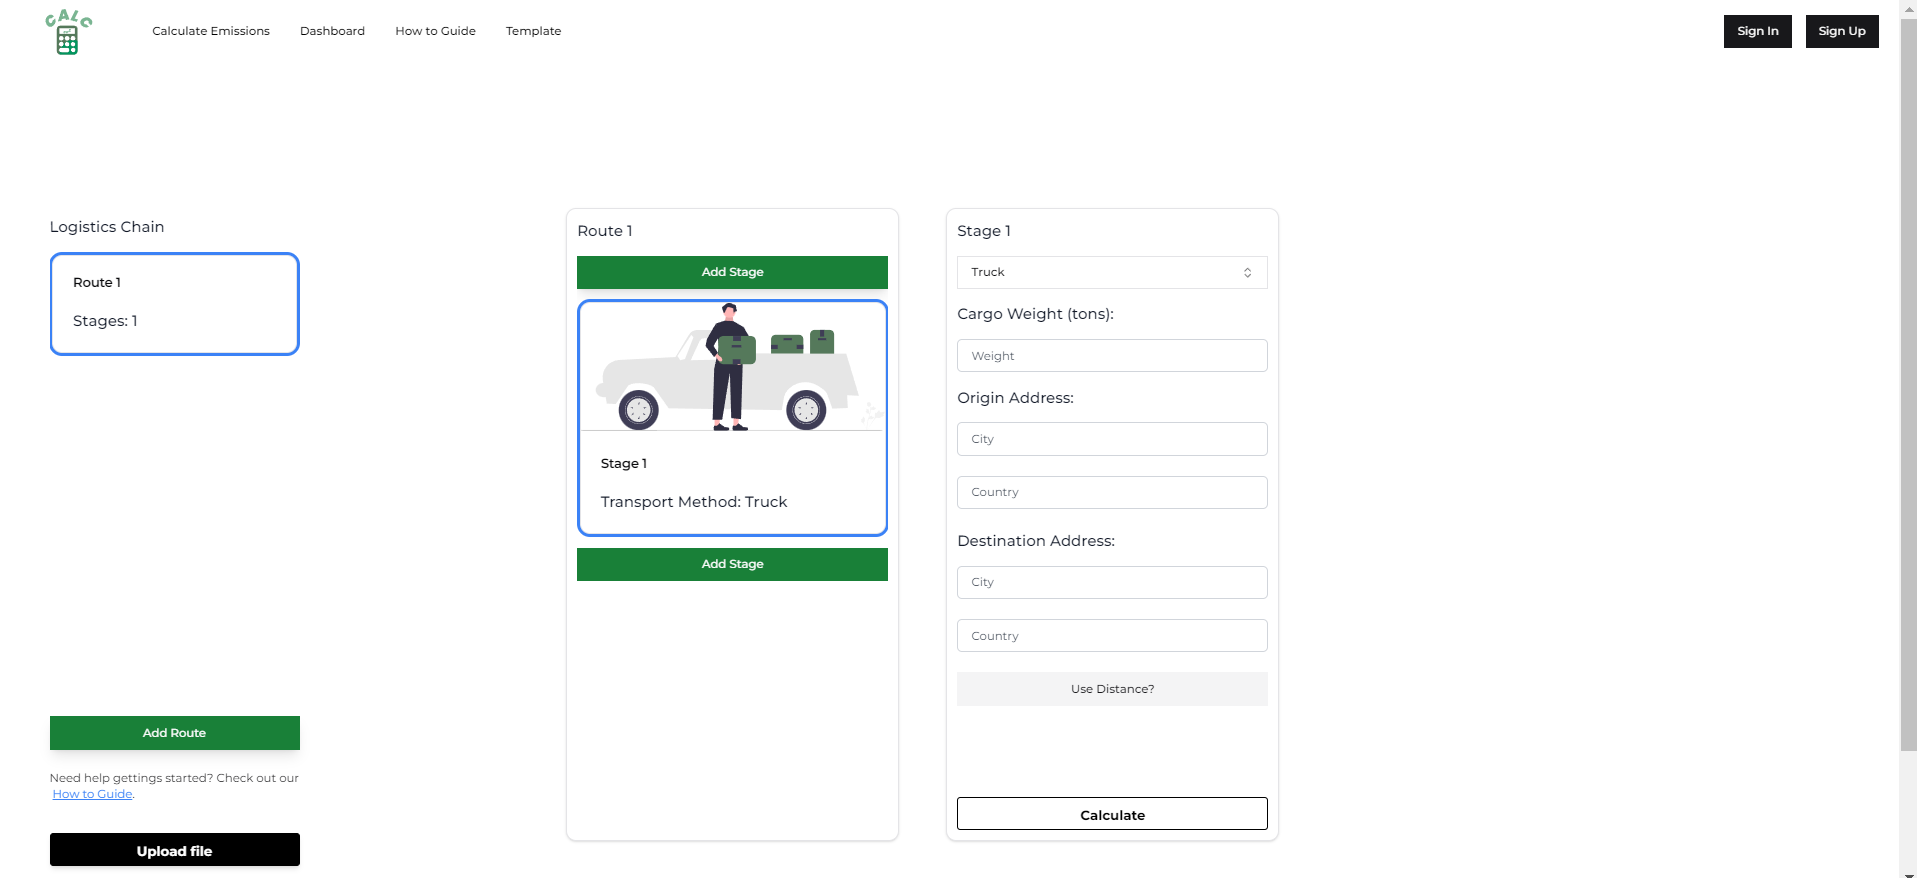
The main page when clicking the 'Calculate Emissions' tab in the navigation tab above.
On the left side of the page, we can see information regarding the current calculation. We have the project name, as well as all the routes and its associated stages with it. While you will not give the actual data (like addresses and tonnage) from here, you can still choose to upload a datasheet of your destinations if you wish to.
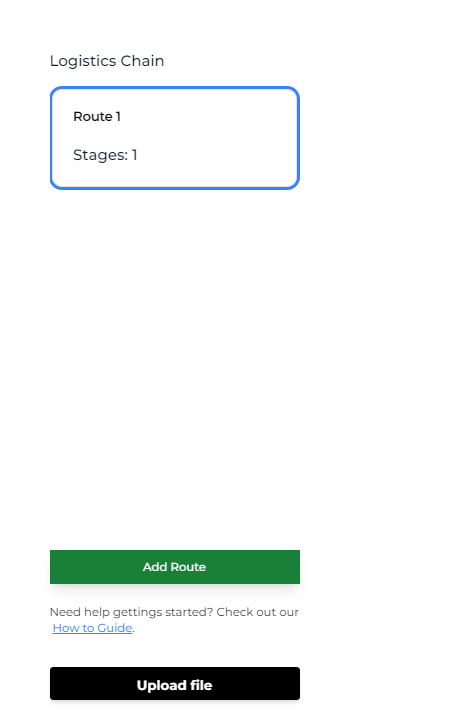
The left section of the Calculator page.
In the middle section, you can find information about the current information that you have provided for the current stage. Upon entering the page for the first time, or just creating a new route, this section will not show much, other than the route number (which is just number one), as well as a base stage only showing the transport method. If you have multiple stages that you’ll like to provide, then you can just press the blue ‘Add Stage’ button to add the next stage of your transportation.
For example: say that you have transport going from Helsinki, to Stockholm, to Copenhagen. That is three different cities in total. Then, you can simply start with Helsinki to Stockholm; you can add Helsinki, Finland as the origin address, and then Stockholm, Sweden as the destination address. And then, when you want to add Stockholm to Copenhagen as the next destination, you can simply press ‘Add Stage’ to create the next stage going from Stockholm to Copenhagen.
Note: when adding a new stage, our calculator will create a new stage where the origin address is just the destination address of the last stage. Of course, you can edit this if you wish.
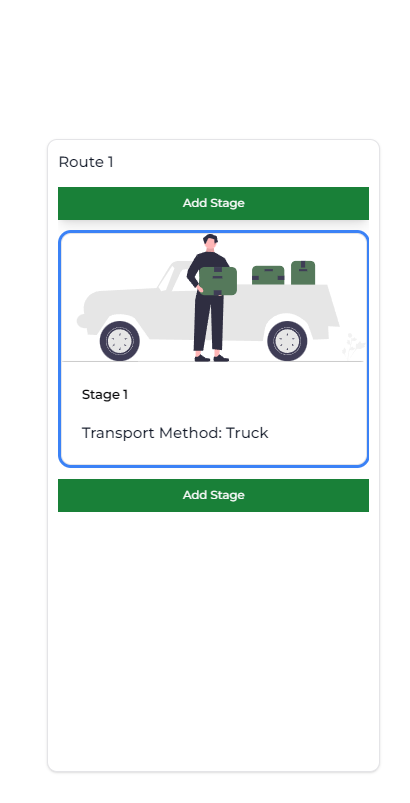
The middle section of the Calculator page, initially being empty.
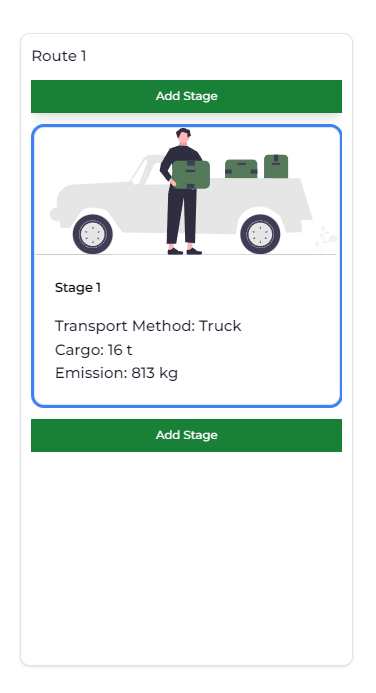
The middle section of the Calculator page, after being populated with (example) data.
The right section of the calculator page will be your main point in which you provide the data (again unless you upload a file). In this section, you will provide the actual data that you wish to include in your calculations.
There are four main pieces of information that you’ll need to provide: the transport type (default value being ‘truck’), the cargo weight (in tonnage), the origin address (where the cargo is going from), and the destination address (where the cargo is going to). Upon clicking the ‘Calculate’ button, you will retrieve a popup telling you the total tonnage of CO2 that has been calculated from your input. The middle section of the page will then be updated to reflect the data that you have added for the current stage.
As explained with an example under ‘1.2. The middle section’, if you wish to add multiple stages to your total calculation, then you can simply press the blue ‘Add Stage’ button and add as many stages as you wish.
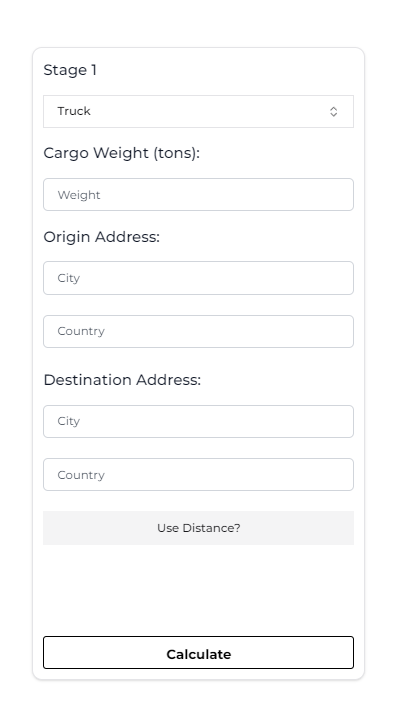
The right section of the Calculator page, initially being empty.
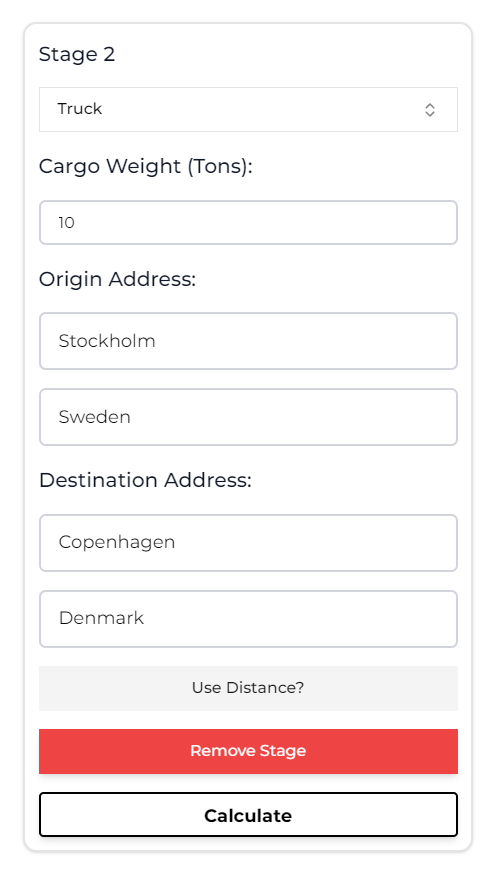
The right section of the Calculator page, after being populated with (example) data.
If you wish to use distances (provided in kilometers) instead of specific addresses, then you will need to click the ‘Use Distance?’ button to active distance mode. It’s very similar to the previous method; instead, you just need to provide a single distance for each stage that you wish to add to your calculations.
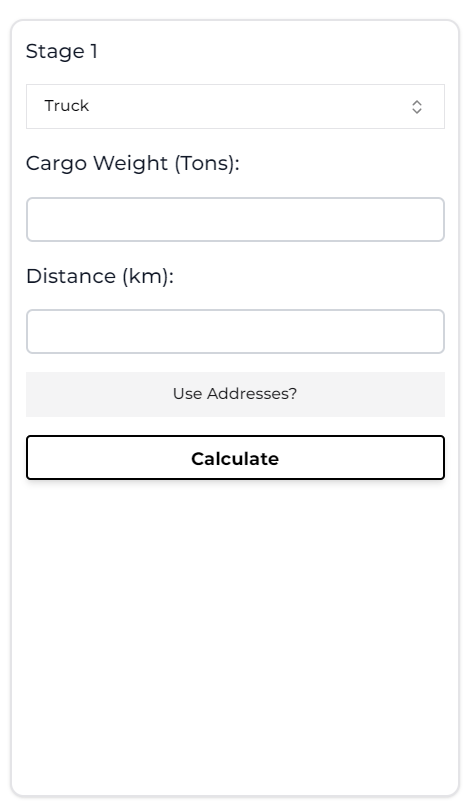
The right section of the Calculator page, initially being empty.
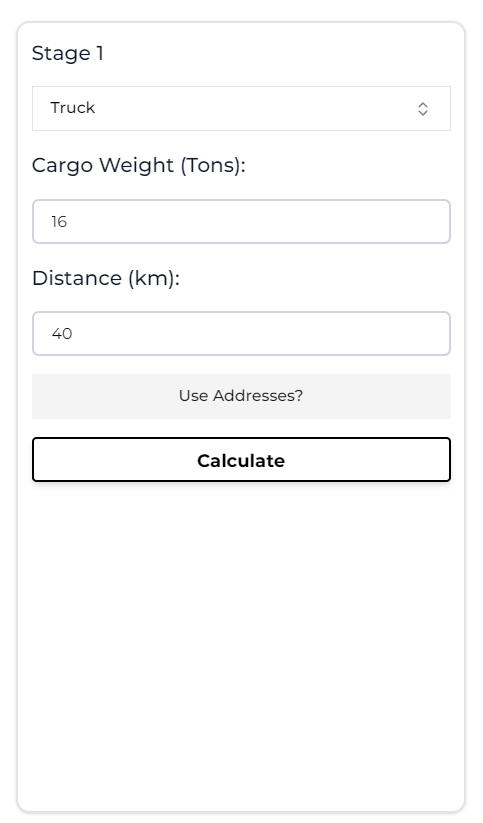
The right section of the Calculator page, after being populated with (example) data.